
You can raise a work request received from end-users in your MS Outlook Web application by using the Outlook Web Add-in option available under MS Outlook Plugin in External Work Request screen of the product.
When you use our Plugin, it pulls information from the selected email and pre-populates the Title, Description, Name, and Email address fields in the External Work Request form, thereby leaving only the remaining details to be added. This results in faster work request creation.
In this article, we have covered the following topics:
Steps to Install External Work Requests in Outlook Web Add-in
Steps to Use the External Work Requests in Outlook Web Application
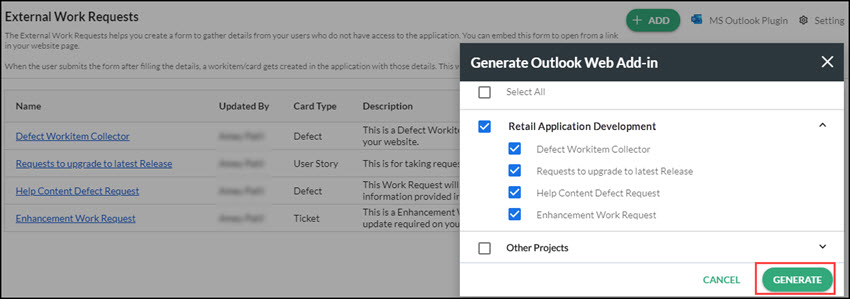
In SwiftEnterprise or SwiftKanban, navigate to External Work Requests and click MS Outlook Plugin option and select Outlook Web Add-in to generate the plugin.
A window opens listing the list of available external work requests in the current project and other projects in which you are a member. Select the work requests that you want to add to your MS Outlook Web application and click GENERATE.
NOTE: Only the selected Work requests will get installed in your Outlook Web application. So, if you have any work request already installed in your add-ins then it will override or replace the list with the new ones.
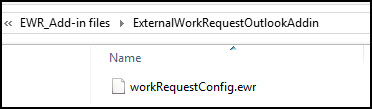
A zip file gets downloaded into your system that includes the add-in file required to be imported in your Outlook Web application. Extract the zip folder and keep the EWR file it in your local system.
In Outlook on the web, select a message.
Select ![]() More actions at the top of the message.
More actions at the top of the message.
Go to the bottom of the list and select ![]() Get Add-ins.
Get Add-ins.
In the new window, you can search for External Work Requests for SwiftEnterprise or External Work Requests for SwiftKanban and clickAdd.

Your add-in gets added in the My add-ins’ section and the same is available in the list of More Actions.
In Outlook on the web, select a message for which you want to raise Work Requests.
Select ![]() More actions at the top of the message.
More actions at the top of the message.
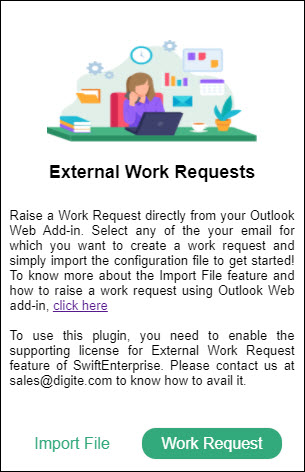
Select your installed External Work Request add-in and the add-in is displayed at the right pane of the window.
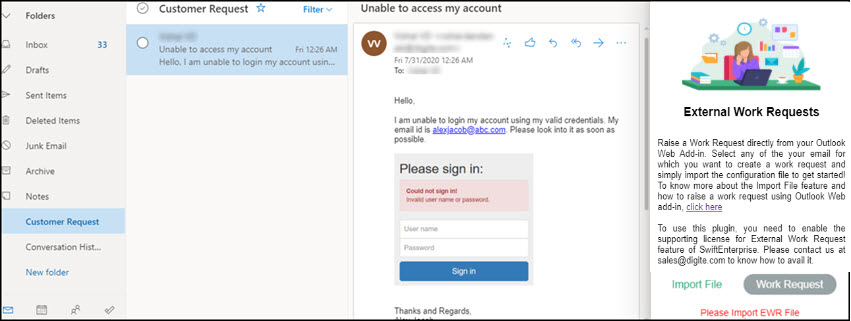
Click theImport File button to import the plugin .ewr file generated from External Work Request of your product and saved in your local system.
Once you import the .ewr file the Work Request button gets enabled.
Click the Work Request button and the list of work requests along with its project names get listed in a pop-up window.
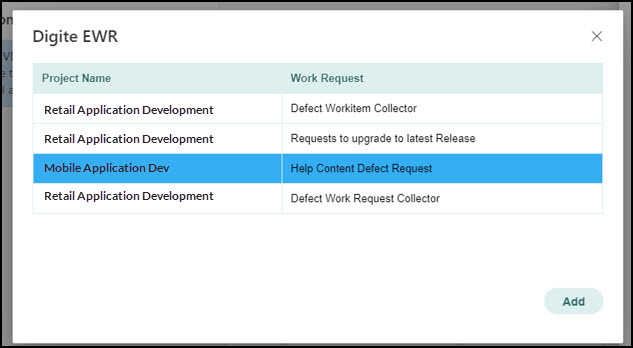
Select the specific work request type and click Add.
The External Work Requests form opens in your browser having the Title, Description, Name, and Email address fields pre-populated.
The Title Field displays the email subject line, Description field has the body of the email message, Name field displays the specific name set in your MS Outlook general settings and email address field displays the email address at which the user has received the email.
NOTE: It will pick up the first 2000 characters from the body of the email message as a description of the External Work Request form. For the RTF description field, we currently don’t support pre-populating the Table formatting.
Add the remaining details and click Submit.
An email is sent to the end-user as an acknowledgment for the receipt of the raised Work Receipt. The email includes all the fields listed on the External Work Request form.
NOTE: The email includes only the Attachment name and not the attachment.
For further information, refer to the Working with External Work Request Help page in SwiftKanban and SwiftEnterprise, respectively.